

And Beginner Hiking Guide
This post contains affiliate links. This means that if you purchase through a link in this article I may earn a small commission (at no extra cost to you).

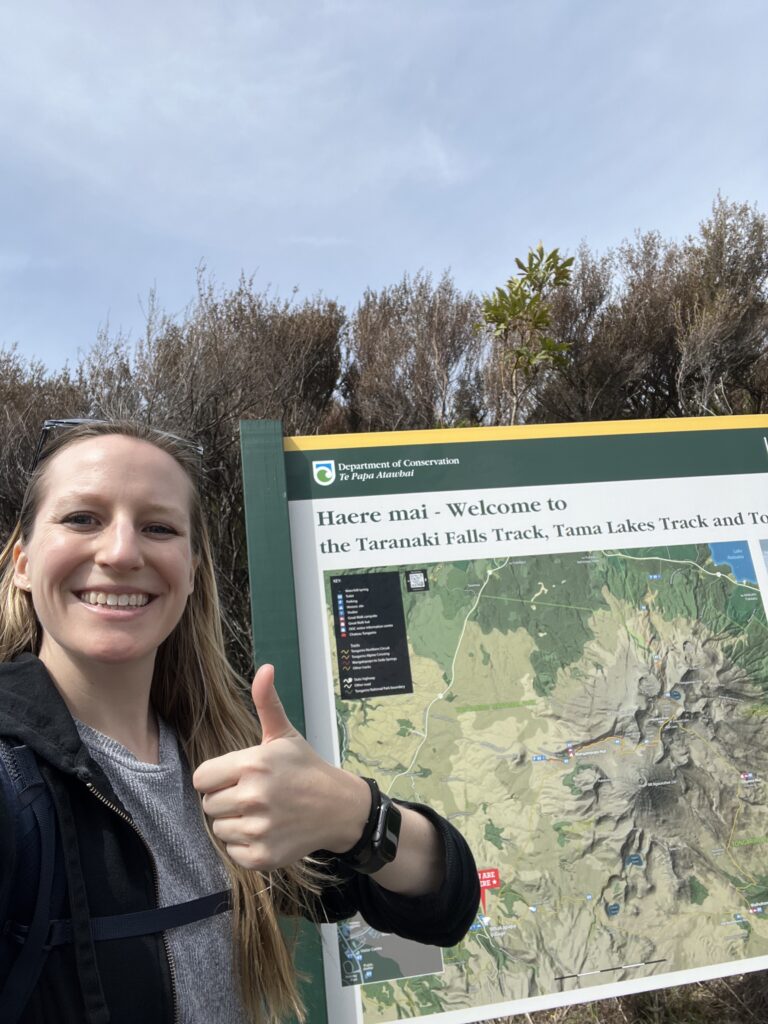
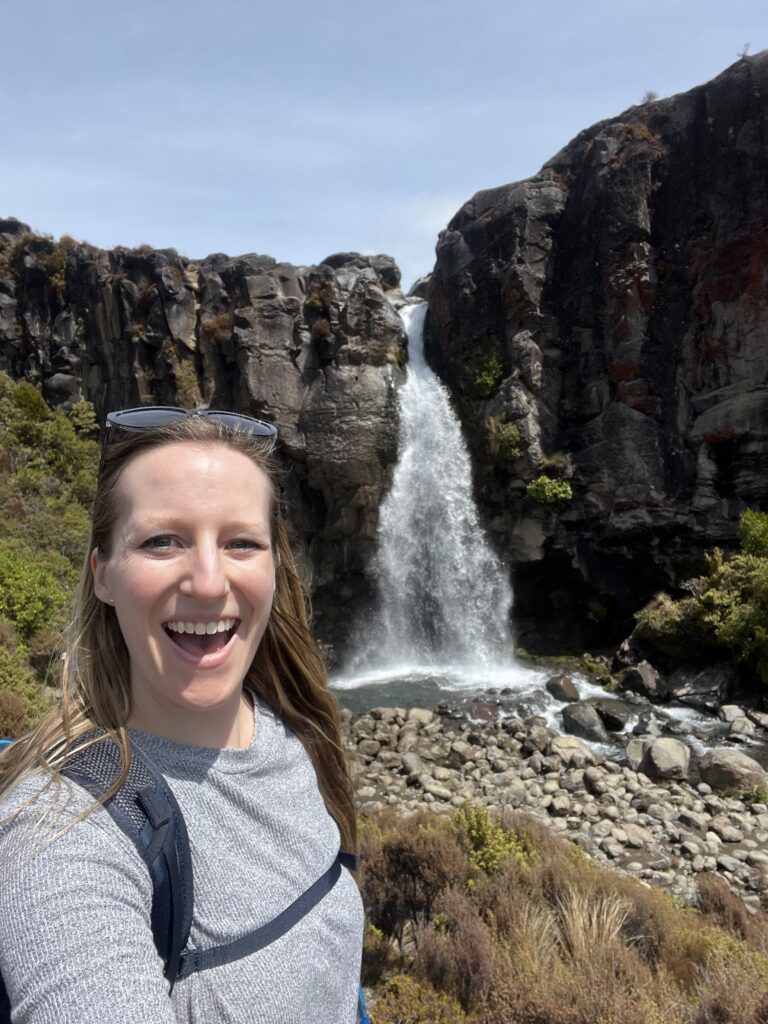
Taranaki Falls might just be my favorite hike in Tongariro National Park, and a perfect beginner hike! It’s not too long, it’s not too hard, in the words of Goldie Locks… it’s just right! It’s no coincidence that it was actually the first hike I did after arriving in New Zealand. So let’s dive in and I’ll tell you everything you need to know about the Tarankai Falls Hike.
For starters it’s easy to get to. Located not far after the famous Chateau Tongariro but before the visitors center. You’ll turn down a road that dead ends into the trail head(s). Yes there are two starting or ending points for this trail! That’s one of the things that makes it such a nice hike. You can complete the hike as a loop or you can go in and back from either direction.
The first time I did this hike I did it in and back because I absolutely loved the views along the way and just wanted to experience them again. But after doing this hike multiple times, I actually can’t decide which way is best because all of it feels magical.
The Basics
This hike is super approachable and can be done, in my opinion, at almost any level of fitness. According to the DOC (department of conservation) website, the Taranaki Falls hike is a 6km, or 2 hour walk. You by no means need to be an expert hiker to complete it. And myself being a totally new hiker doing it for the first time did not feel hard. But just like any time you go on a hike, you should still be prepared. So here is a short list of things I would bring.
As always, wear sunscreen
Parts of this hike are through beech forest and have plenty of shade. However, there is a good portion of the hike out in the open with no shade. So don’t be like me the first time I did this hike and not put on sunscreen or bring a hat. Which brings me to my next tip.
Bring a hat
Like many hikes, you have to bring your own shade with you. And depending on how you decide to hike to Taranaki Falls will determine how much shade and sun exposure you have.
Next up, water
No matter how long or short a hike is, you should always have water with you. How you want to bring that water is up to you, but my next tip is my favorite option.
Bring a backpack
Preferably one with a water bladder/reservoir like this one I have linked on my Hiking shelf on my ShopMy. I love this one from REI because it’s a great all around backpack, not just for hiking. It has great storage, a 3L water reservoir, and is comfortable to wear. I’ve taken this on both long and short hikes and it works perfectly for both. I’ve also used it on travel days to hold extra items that wouldn’t fit in my suitcase!
Good shoes are a must
The Tarankai Falls hike isn’t a serious enough hike that you need full on hiking boots to accomplish it. However, as the weather is ever changing in New Zealand, you want to have a well fitting shoe that has good traction on it. So I’d recommend either hiking boots or a good pair of trail running shoes (I have both options linked on my ShopMy). I’ve actually come to prefer hiking in trail running shoes since they are lighter weight than hiking boots. But whatever type of shoe you prefer, make sure that they fit you well. Long story short, I found out the hard way that my hiking boots and running shoes were too small. I’ll just put it this way, marathon runners aren’t the only people who can lose toe nails. But I digress, let’s move on shall we? … Actually let’s not pivot too far!
Socks make a difference!
I’ve worn different combinations of socks for all the hikes I’ve done. If you’re going to be doing a lot of hiking then it would be a good idea to invest in some actual hiking socks (which can also be found here!) I also found some running socks with compression built in on amazon that I like both for running and hiking. No matter your budget, you’ll be able to find a sock that works for you.
Never hike without snacks
Especially on this hike because there are some really amazing views to soak in. Right near the base of the falls is a nice picnic area. And if you decide to do the hike as a loop and continue to the area above the falls, you’ll see my favorite part of the hike that deserves some time to just sit and enjoy the view. Keep in mind that whatever you bring in, you need to bring out as there aren’t any garbage cans/trash receptacles anywhere along the hike. So if you are bringing snacks, I also recommend bringing a ziplock bag that you can pack your trash in to dispose of later.
Next up, clothing
As I mentioned earlier, the weather in New Zealand can change fast. So being over prepared in my opinion is always best. Even if the weather is sunny and warm, I still keep a hat, gloves, and a rainshell in my backpack at all times. Since this hike has a mix of both shaded areas and areas that are more open to the elements, your body temperature will fluctuate. No matter what type of hike you do, it’s always a good idea to dress in layers. You also want to make sure that what you are wearing is made out of fabric that is breathable.
Now for this hike you could really get away with wearing a wide variety of clothing. Personally, I like hiking in leggings with either a tank top or short sleeved shirt as a base. Then I have some type of layer over that being either a sweatshirt or quarter zip. Hiking pants are also a great option, especially ones that zip off into shorts (I have a great pair from REI linked here).
This last one may sound silly…
But always have some toilet paper and hand sanitizer with you. A lot of trails in New Zealand actually have outhouses. However, depending on how popular the hike is, there’s a good chance that the toilet paper will run out by the time you get there. And who wants to be stuck in an outhouse like that? So do yourself and others a favor and have a little bit on hand in your backpack before going on a hike. I shouldn’t have to explain why hand sanitizer is important. But you’re going to want something to clean your hand with after doing your business. And I honestly can’t remember if any of the outhouses I saw had a way to wash your hands. So as usual, it never hurts to be prepared!
The Hike
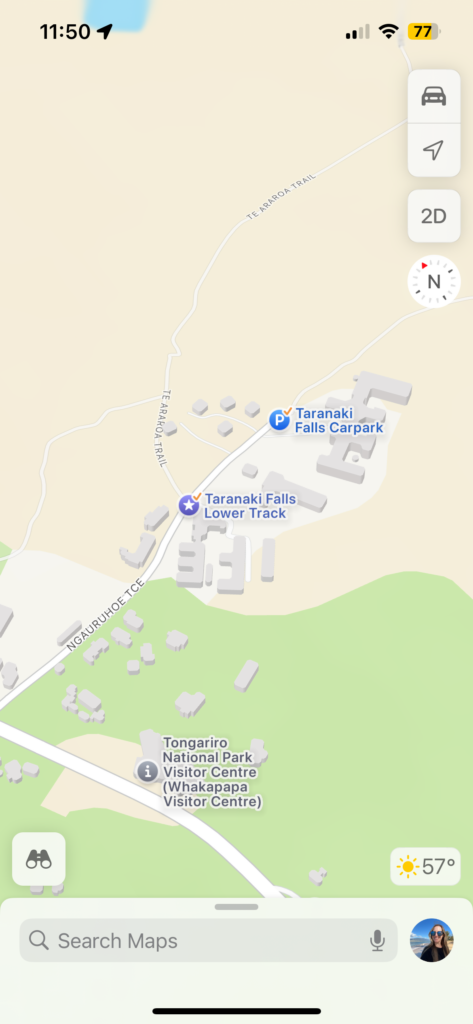
Let’s get into the nitty gritty of the actual hike. When you pull onto Ngauruhoe Terrace there are two different tracks for Taranaki Falls. If you drive to the end of the road it will dead end into the official Taranaki Falls Carpark. However I will say it’s a very small parking lot that can fit maybe 10 cars if they’re all small. But not to worry, there is a small parking area right at the beginning of the road. And worst case scenario if neither parking area is available, there is plenty of parking just up the road by the Whakapa Visitor Center (it is street parking and not an actual parking lot). Or you can park at the parking spaces that line the entrance to the park in front of Chateau Tongariro. It’s not a far walk from either option if the Taranaki Falls Carpark is full.

Options for the hike
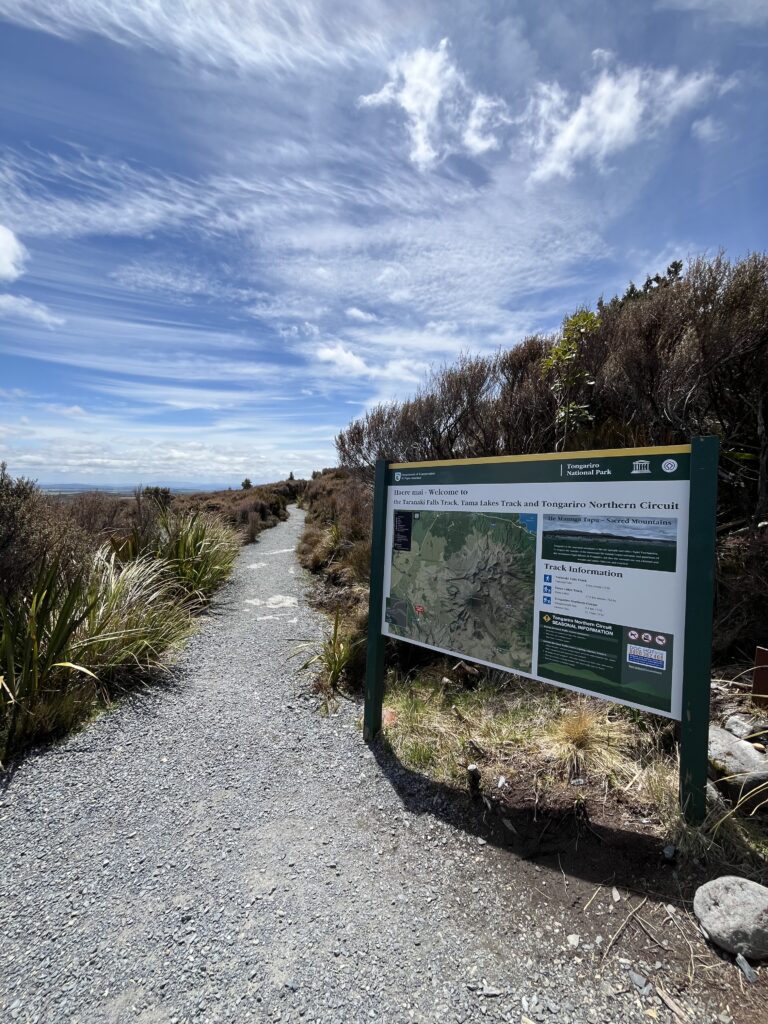
Once you’ve found your parking you have two options for where to start the hike. Both are on Ngauruhoe Terrace and aren’t that far from each other. When I did the hike the first time I personally started at the Taranaki Falls Lower Track. If you’re walking towards where the road dead ends it will be on your left. There will be a big official sign marking the track.
The Lower Track
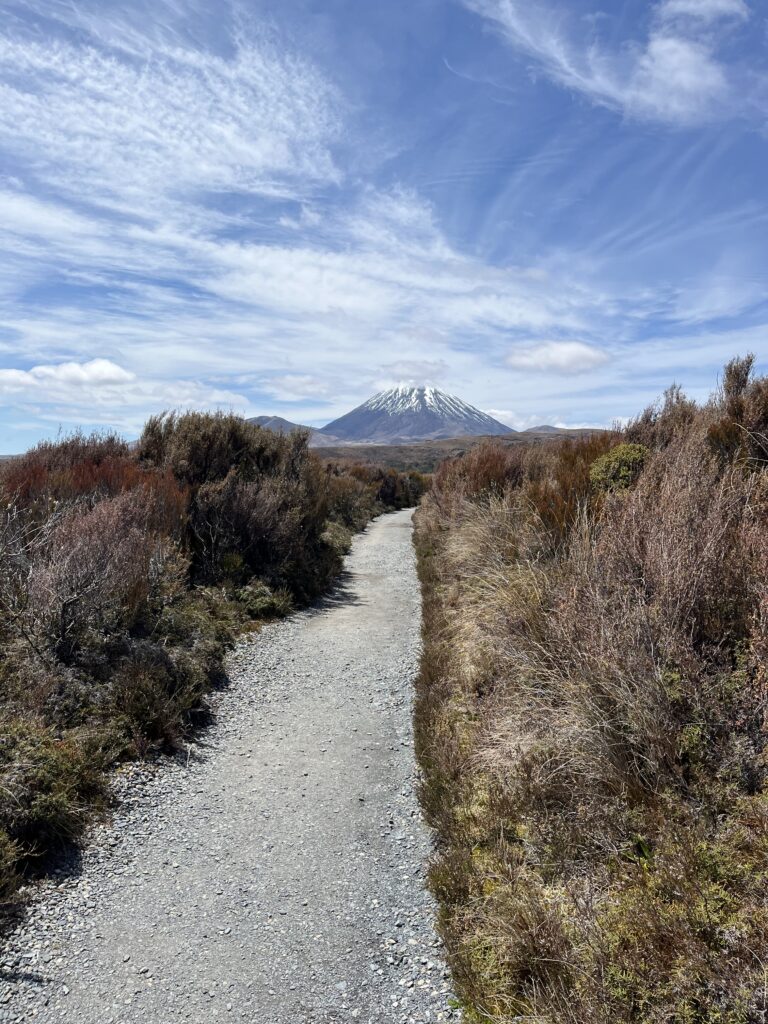
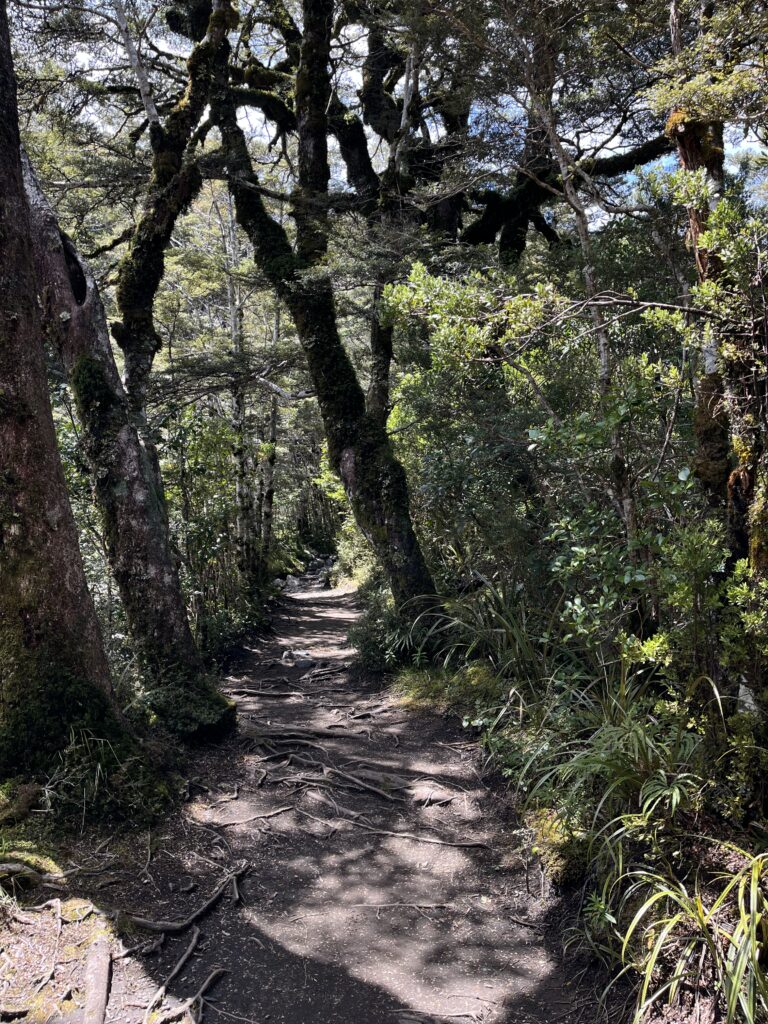

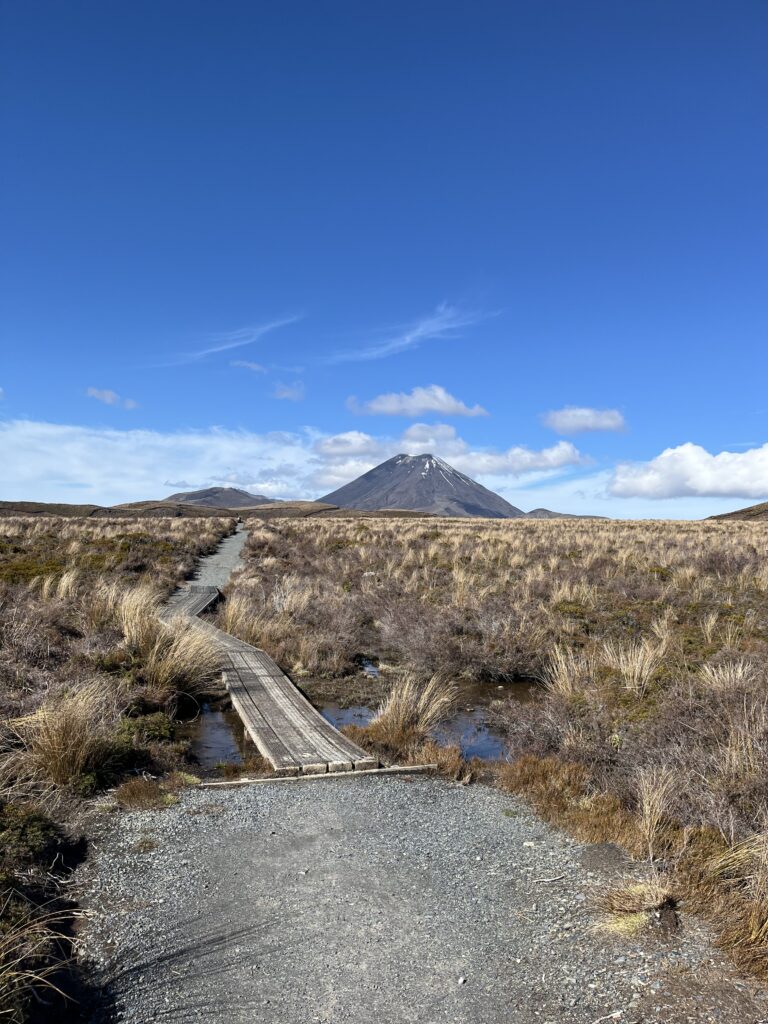
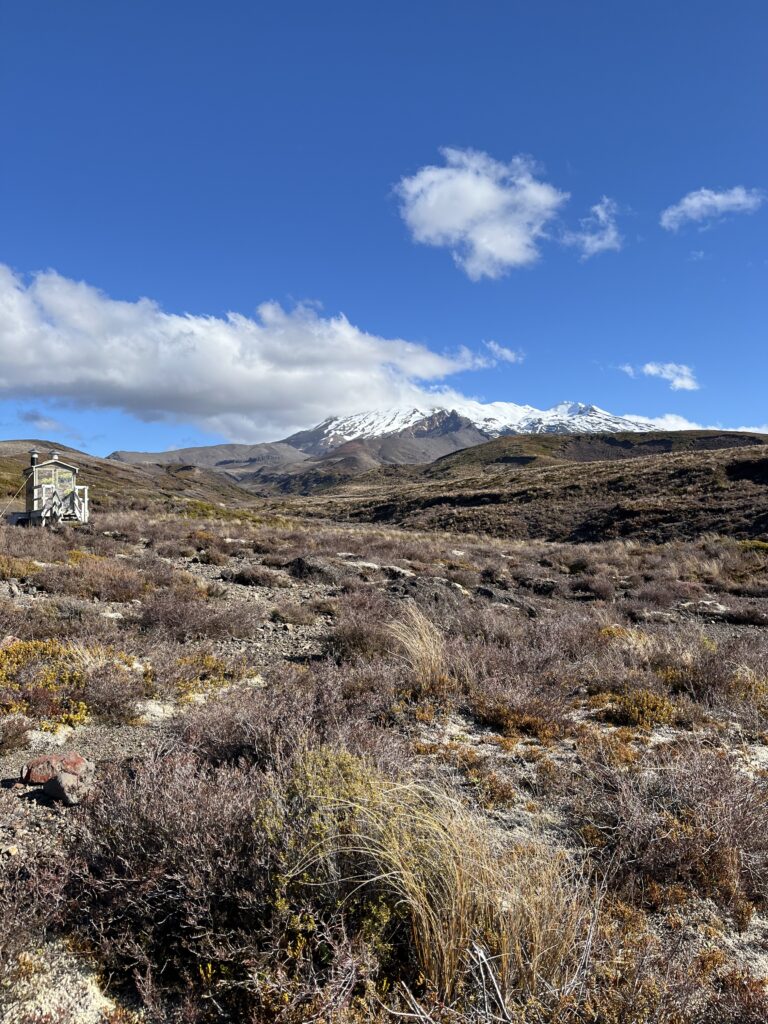
If you decide to start from the Lower Track you’ll be walking through beautiful open scenery with great views of the famous mountains of Tongariro National Park if the sky is clear. You’ll also have the pleasure of walking through the beech forest and having the sound of the Wairere Stream as a companion along the way. The only downside to starting the hike from the Lower Track is that there will be parts of it that you’re going uphill. It’s not a significant incline, however if you decide to do the track as a loop from this way then you’ll be climbing about 100 stairs to get above the falls and continue back to the carpark.
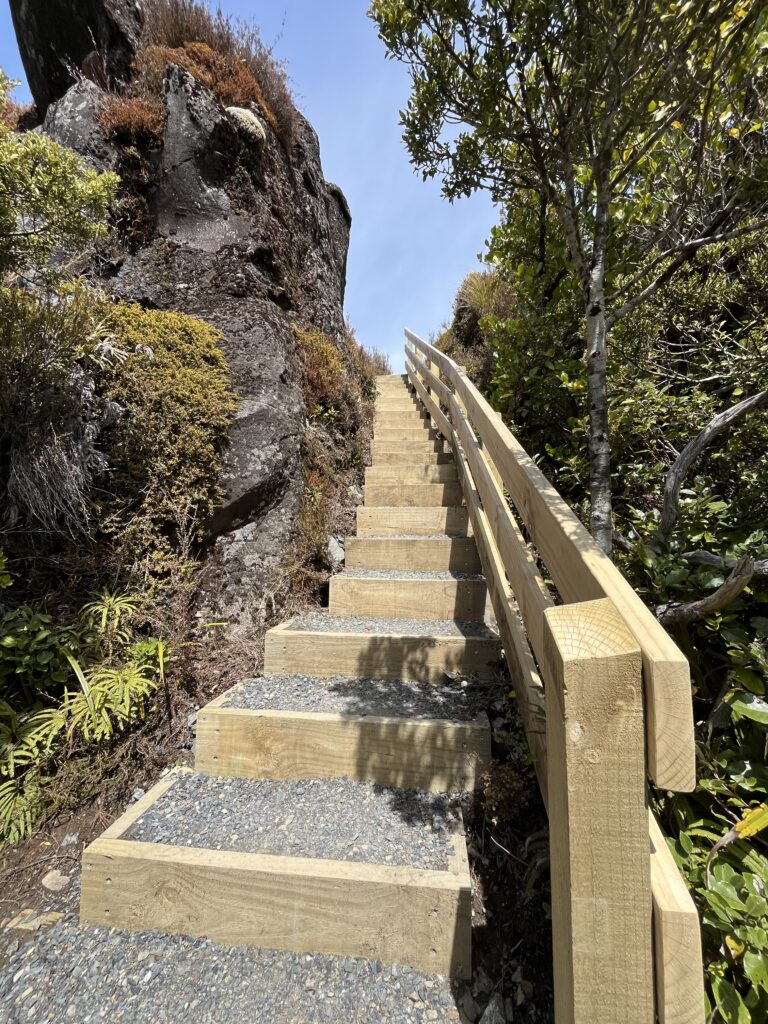
The Upper track
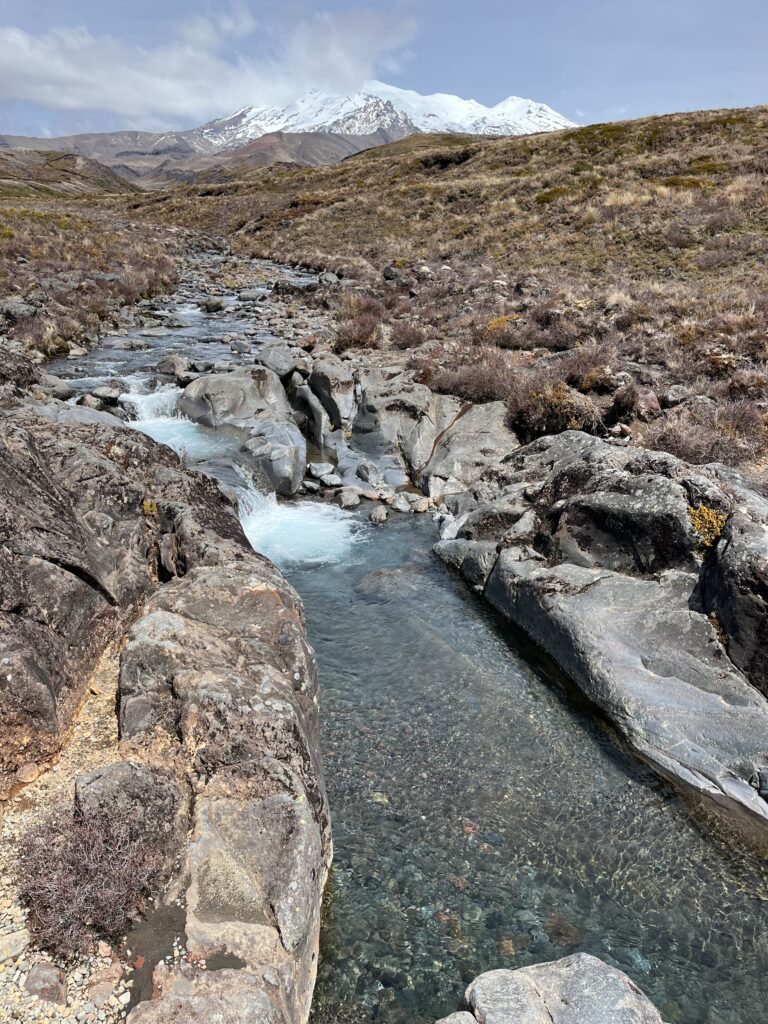
If you decide to start from the track entrance at the end of the carpark then you’ll be coming to the falls from the opposite direction which means that you’ll be above falls when you reach them. If going down about 100 stairs isn’t a problem for you, then starting from this end is a great option. I also love starting from this way because my favorite part of the Taranaki Falls hike isn’t actually Taranaki Falls! Above the falls is my favorite view of Mount Ruapehu. There’s a bridge overlooking Wairere Stream before it turns into the falls and the view is just glorious. And if I remember correctly I think there is even an outhouse somewhere not far from this area!
What to Expect
This hike has great views no matter which end you start from. The beech forest is unique to New Zealand and feels like a true fairytale when you’re walking through it. The trail is well marked and developed and super easy to follow. The Lower Track has an area that does have some medium sized stones you have to navigate over, but it’s a short section and really nothing to worry about.
From either starting point you’ll have amazing views of Mount Ruapehu, Mount Tongariro and Mount Ngauruhoe. So the good news is that either way you want to start the trail will give you an amazing adventure!
And there you have it! Everything you need to know to not only hike the Taranaki Falls Hike, but also get started on your own hiking adventure!
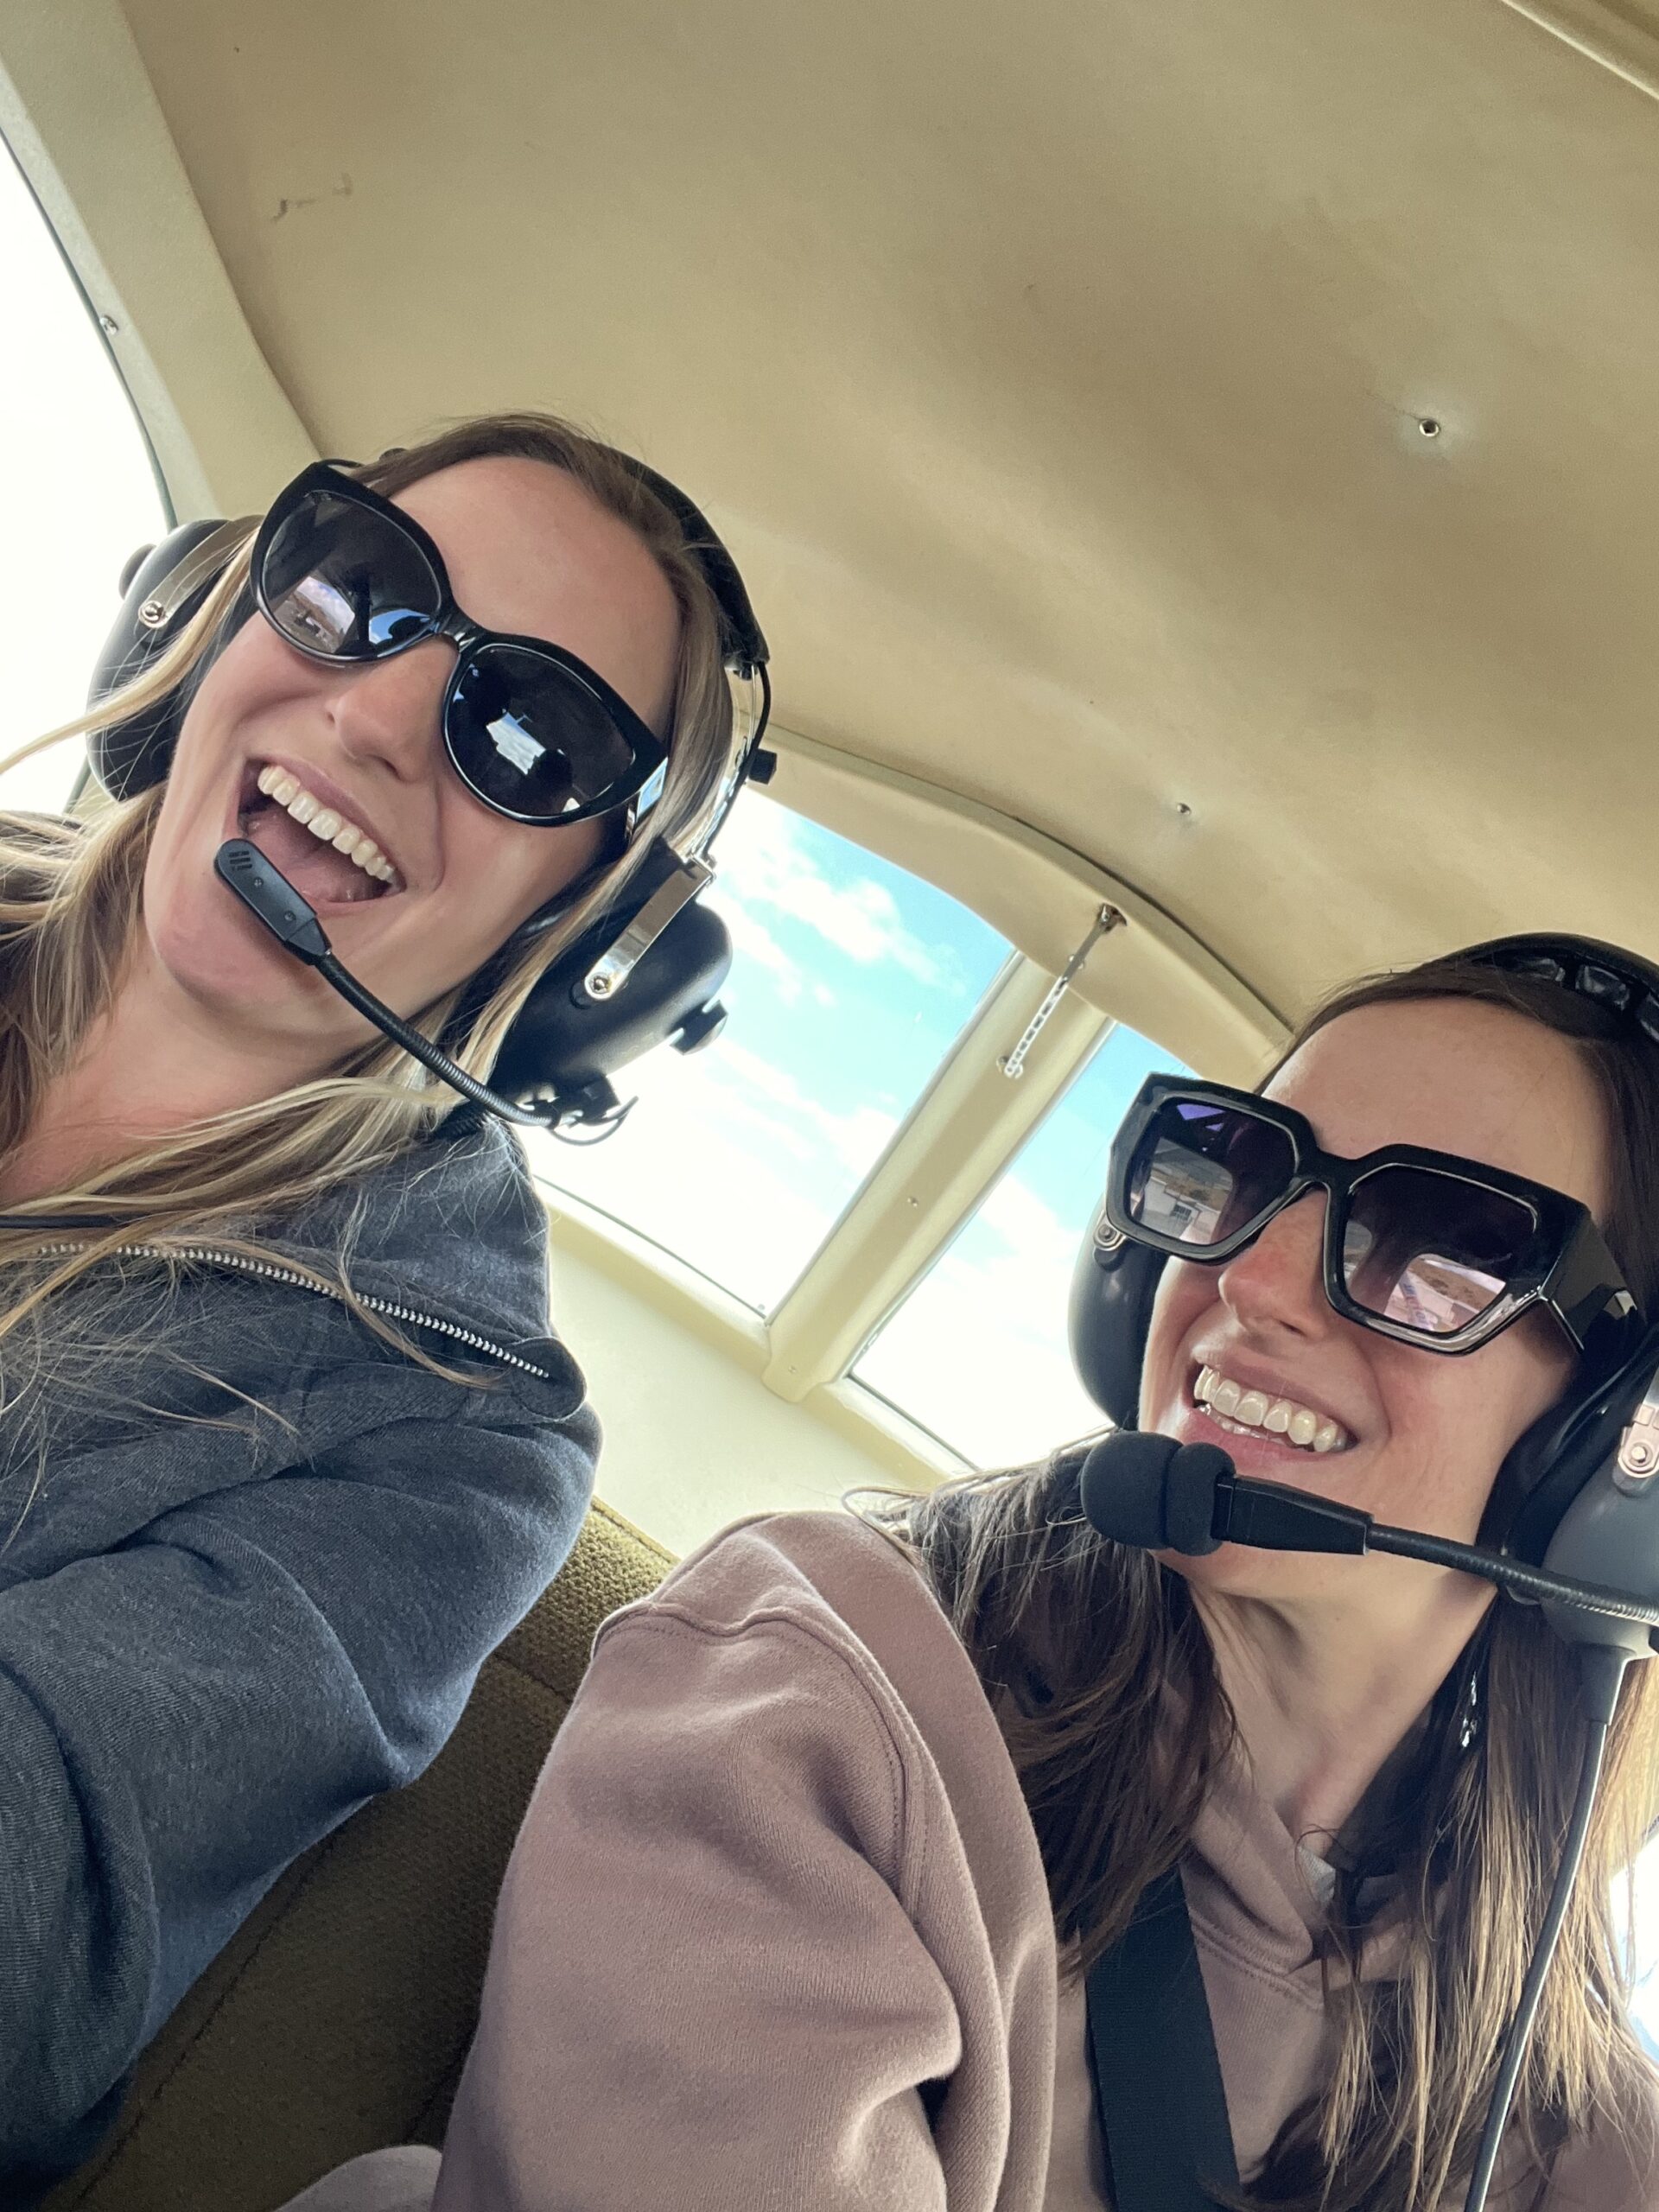
We’re twins, best friends, and lifelong travelers living on opposite sides of the ocean. Together and separately we’ve spent over 15 years exploring the world and escaping reality, one trip at a time.


Comments +